
You can create a Bitswan workspace and run Bitswan automations anywhere whether in a VPS on your favorite cloud provider or on your environment locally! This post will run you through the process of setting up a Bitswan workspace complete with an IDE for building your automations and and a runtime system where you can deploy them with the click of a button.
Prerequisities
git,linux/macosenvironment,docker, andbitswan-workspaces
Tutorial
- Install Bitswan Workspace CLI
Linux / WSL
LATEST_VERSION=$(curl -s https://api.github.com/repos/bitswan-space/bitswan-workspaces/releases/latest | grep -Po '"tag_name": "\K.*?(?=")')
curl -L "https://github.com/bitswan-space/bitswan-workspaces/releases/download/${LATEST_VERSION}/bitswan-workspaces_${LATEST_VERSION}_linux_amd64.tar.gz" | tar -xz
You can find the installation instructions and command for MacOS here
- Setup DNS
Setup your DNS to have a domain test.io for example and a subdomain for your workspace workspace.test.io and a wildcard for subdomains *.workspace.test.io.
- a) In case you have a publicly accessible IP address, you can set up DNS entries with your domain registrar or DNS provider to point
workspace.test.ioand*.workspace.test.ioto your server’s IP address. - b) In case you want to resolve these addresses locally, you can:
1.)Add the entries to your system’s host file to resolve these domains locally. In this case, you can add the following lines to your
/etc/hostsfile:127.0.0.1 test.io 127.0.0.1 workspace.test.io2.) In case of wildcards, you can use a tool like
dnsmasqto resolve wildcard domains locally.Install
dnsmasq:sudo apt install dnsmasqConfigure
dnsmasqby editing the/etc/dnsmasq.conffile and adding the following lines:address=/.workspace.test.io/127.0.0.1Start the
dnsmasqservice:sudo systemctl start dnsmasq sudo systemctl enable dnsmasqUpdate your
/etc/resolv.conffile to usednsmasqas the DNS resolver:nameserver 127.0.0.1 nameserver 8.8.8.8 # fallback
- Create a Workspace
a) In case you have publicly accessible IP address, and a DNS entry configured to point to that IP address, the setup is
bitswan workspace init --domain=workspace.test.io <workspace_name>b) For local development run:
mkcert --installIn this example we will use
workspace.localhostdomain for the local developmentand then run the command with
--mkcerts:bitswan workspace init --domain=workspace.localhost --mkcerts <workspace_name>Update your hosts file by adding this:
127.0.0.1 workspace.localhostat
/etc/hostsas mentioned in step 2.). Do this only when you want to run the workspaces locally. With the mkcerts and your domain in hosts file, you should be good to go. Without the certs you won’t be able to open the editor later on using the https, which causes the editor to not work properly.
- Access the Editor
After running the initialization command, the CLI will provide you with a URL and a password. If everything is configured correctly, you should see your VS Code editor successfully deployed.
Example output:
------------BITSWAN EDITOR INFO------------
Bitswan Editor URL: https://workspace_name-editor.workspace.test.io
Bitswan Editor Password: a1b2c3d4e5f6g7h8i9j0
------------GITOPS INFO------------
GitOps ID: workspace_name
GitOps URL: https://workspace_name-gitops.workspace.test.io
GitOps Secret: 321ab12b13k12jk312kjjk12
- Open The Editor
Open the Editor URL in your browser and use the password to login. The site should look like this:
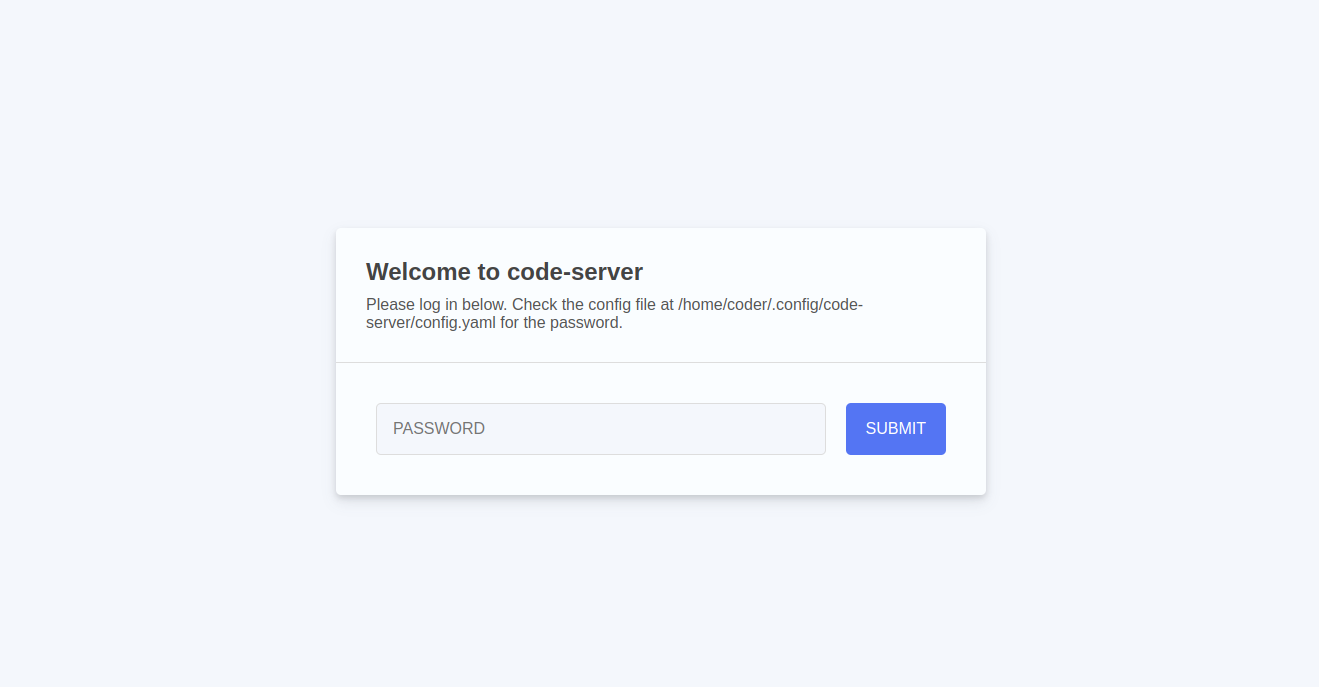
Give it the Bitswan Editor Pasword from the output.
After logging in, you should see the editor with the Bitswan extension installed.
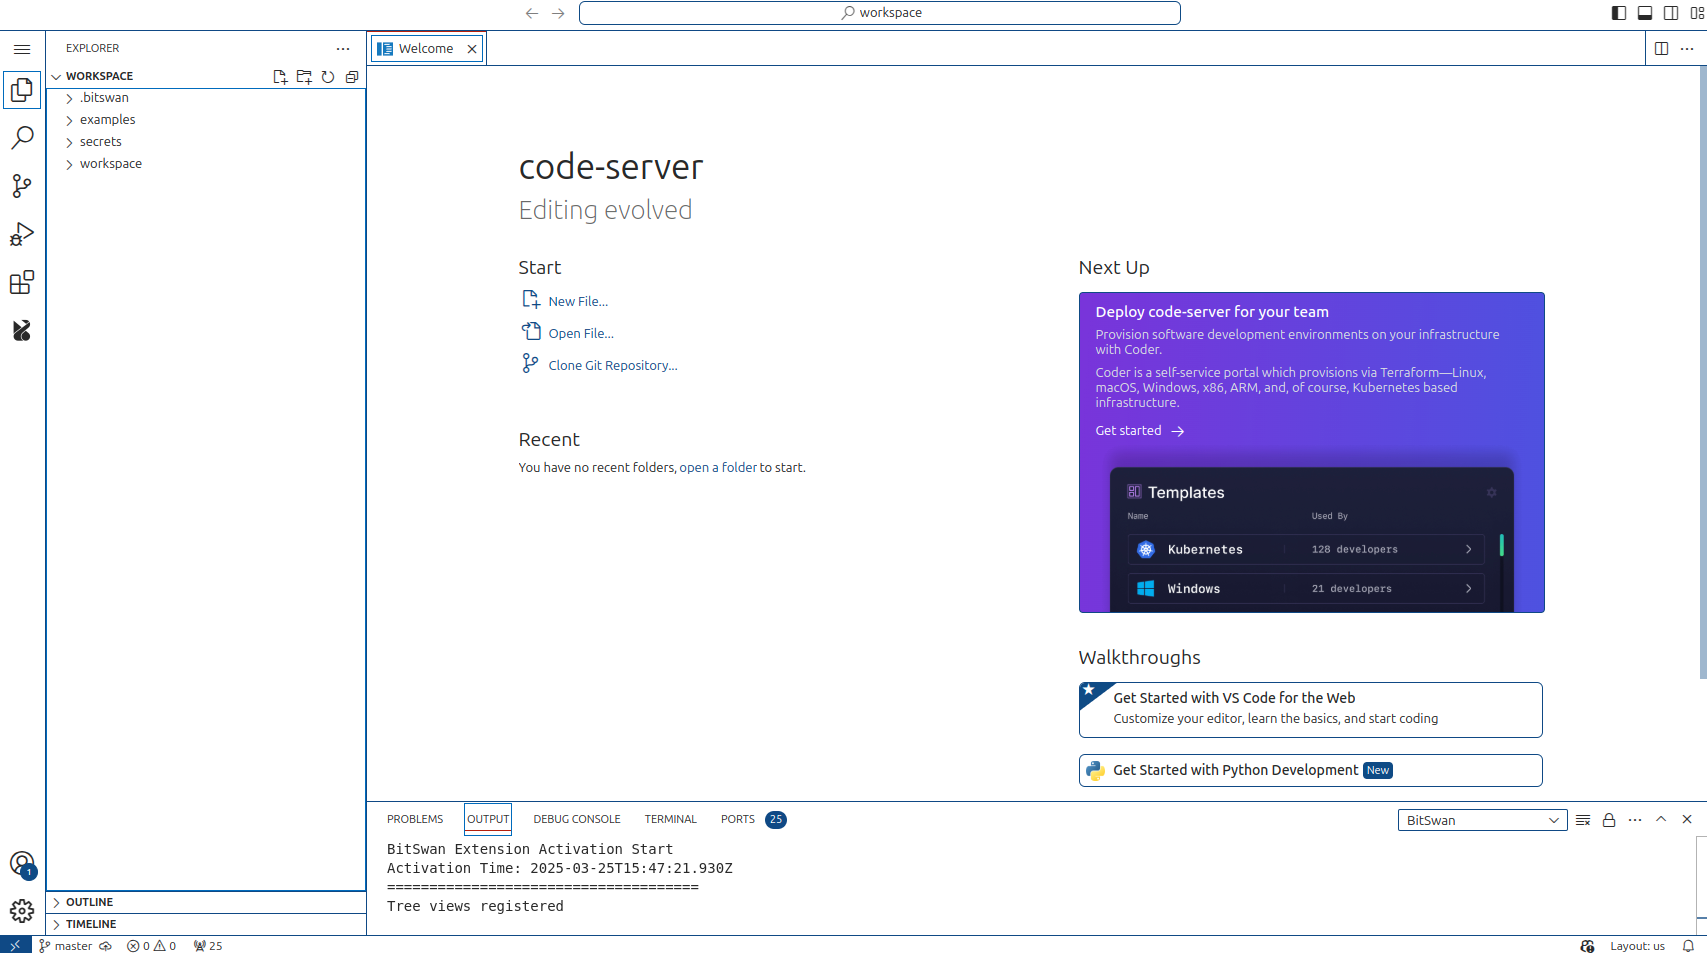
Start developing your automations Copy an example automation folder from the examples/ directory into your workspace/ folder within the editor.
Deploy your first automation Click on Deploy Automation in the top-center Jupyter panel of the editor.
Manage your automations Use the Bitswan VS Code extension (automatically installed via the CLI) to monitor automation status, view logs, restart, or stop processes as needed.
If you want to get started with the editor to develop and deploy your first automation, check out our blog post: Getting Started with Bitswan in the VS Code Editor.
Conclusion
You have successfully set up your Bitswan workspace on a VPS or cloud provider. You’re now ready to begin developing and deploying your own automations directly within the browser-based environment! Let me know if you want a shortened version or one with extra formatting like collapsible sections or callouts.