
Prerequisites
- Windows 11
- Administrator privileges
Installation Scenarios
Scenario 1: Fresh Installation
Follow these steps if you have neither WSL nor Visual Studio Code installed.
(The simplest way to check if you have both of them installed you can just pressing the win+s shortcut and looking up the WSL and Visual Studio Code/vscode and seeing if they show up)
- Install Windows Subsystem for Linux (WSL)
- Install Visual Studio Code
- Install Jupyter Notebook Extensions in VSCode
Scenario 2: WSL and VSCode Installed
If you have WSL and VSCode installed but need the Jupyter extensions:
Scenario 3: Complete Setup
If WSL, VSCode, and Jupyter extensions are already installed, jump directly to:
Installing WSL
Open PowerShell as Administrator.
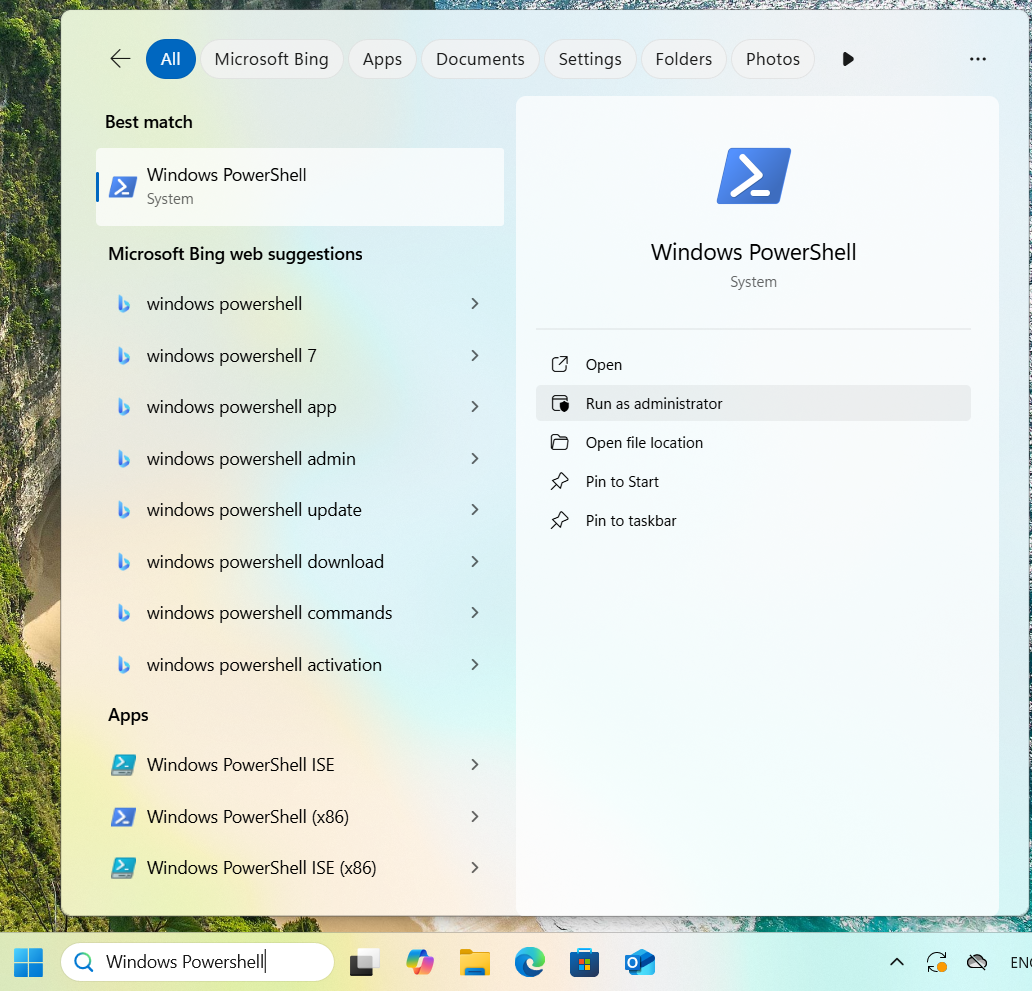
Run:
wsl --install
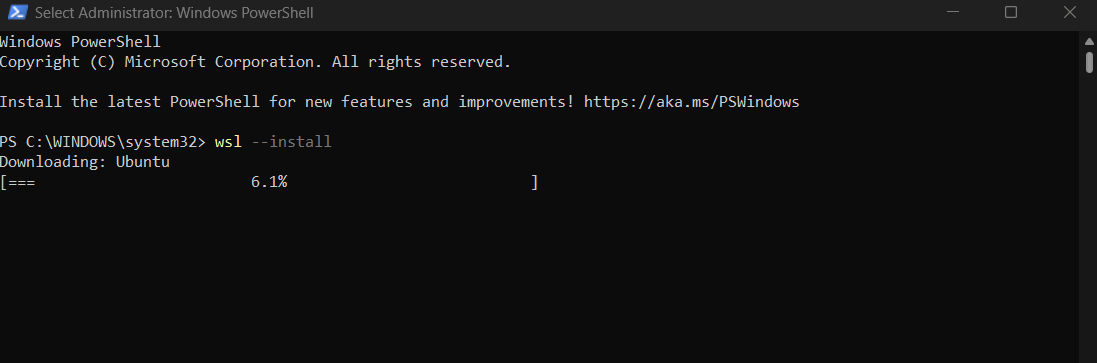
3. Restart your PC when/if prompted.
Installing VSCode
- Download VSCode from official site.
- Run the installer and follow the setup wizard.
Installing Jupyter Extension
- Open VSCode.
- Click on Extensions (Ctrl+Shift+X).
- Search for “Jupyter” and install it.

Cloning Bitswan Repository
- Launch WSL terminal and navigate to the desired directory where you want to store.
- Clone repository:
git clone git@github.com:bitswan-space/BitSwan.git
cd BitSwan
Best practice: use your WSL home directory (~/projects) rather than /mnt/c to avoid permission issues (use the cd ~ to drop into the wsl home directory).

Setting up Python and Virtual Environment
- Ensure Python 3 is installed:
sudo apt update
sudo apt install python3 python3-venv python3-pip
- Create and activate a virtual environment:
python3 -m venv venv
source venv/bin/activate
- Install dependencies:
pip3 install -e ".[dev]"

Running Bitswan Pipelines
Run a pipeline example using:
bitswan-notebook examples/WebForms/main.ipynb
Optionally watch for changes:
bitswan-notebook examples/WebForms/main.ipynb --watch

You can test the basic functionality of some of the examples on http://localhost:8080 in your browser: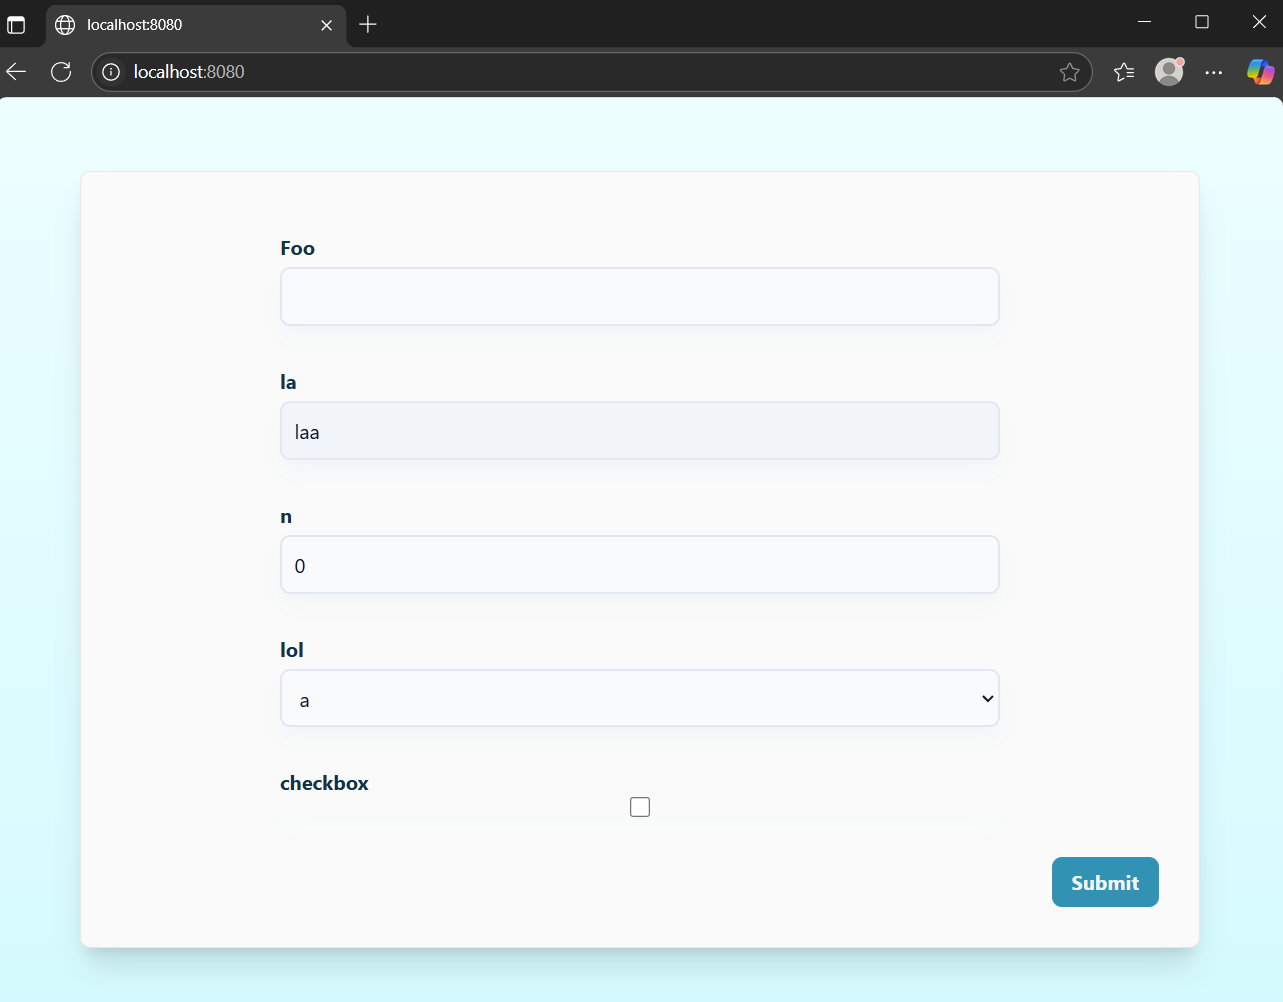
Running Notebooks Cell-by-Cell
In addition to running the full pipeline via CLI, you can also open .ipynb files in VSCode and run them cell-by-cell using the built-in Jupyter notebook interface. This is really handy, if you want to learn, debug, and explore tre pipeline behavior step by step.
⚠️ Kernel Issues: If the Python kernel is incorrect or missing (indicated by errors like “Kernel not found” or “Incorrect Python environment”), it means the notebook doesn’t know which Python interpreter (environment) to use. Register your virtual environment as a kernel by running:
pip install ipykernel
python -m ipykernel install --user --name=bitswan-env --display-name "Python (bitswan-env)"
Then, in VSCode, select this kernel (top-right corner of the notebook).

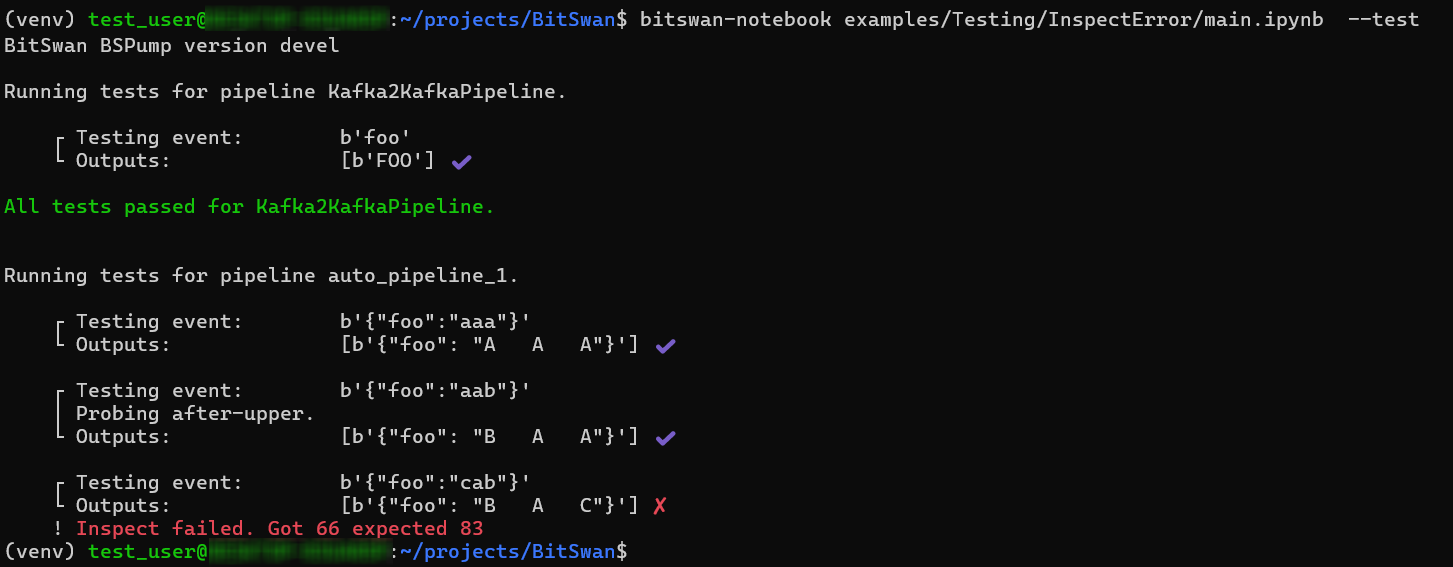
Testing Pipelines
Run pipeline tests:
bitswan-notebook examples/Testing/InspectError/main.ipynb --test
Automatically re-run tests on file changes:
bitswan-notebook examples/Testing/InspectError/main.ipynb --test --watch
Troubleshooting & Common Issues
Command not found? Confirm venv activation and installation (pip3 install -e ".[dev]").
Permission errors? Avoid Windows-mounted directories (/mnt/c) and use Linux-native directories.
Conclusion
You now have a fully operational environment to run and test Bitswan pipelines on Windows 11 using WSL and VSCode.